Wet-on-wet oil painting method explained
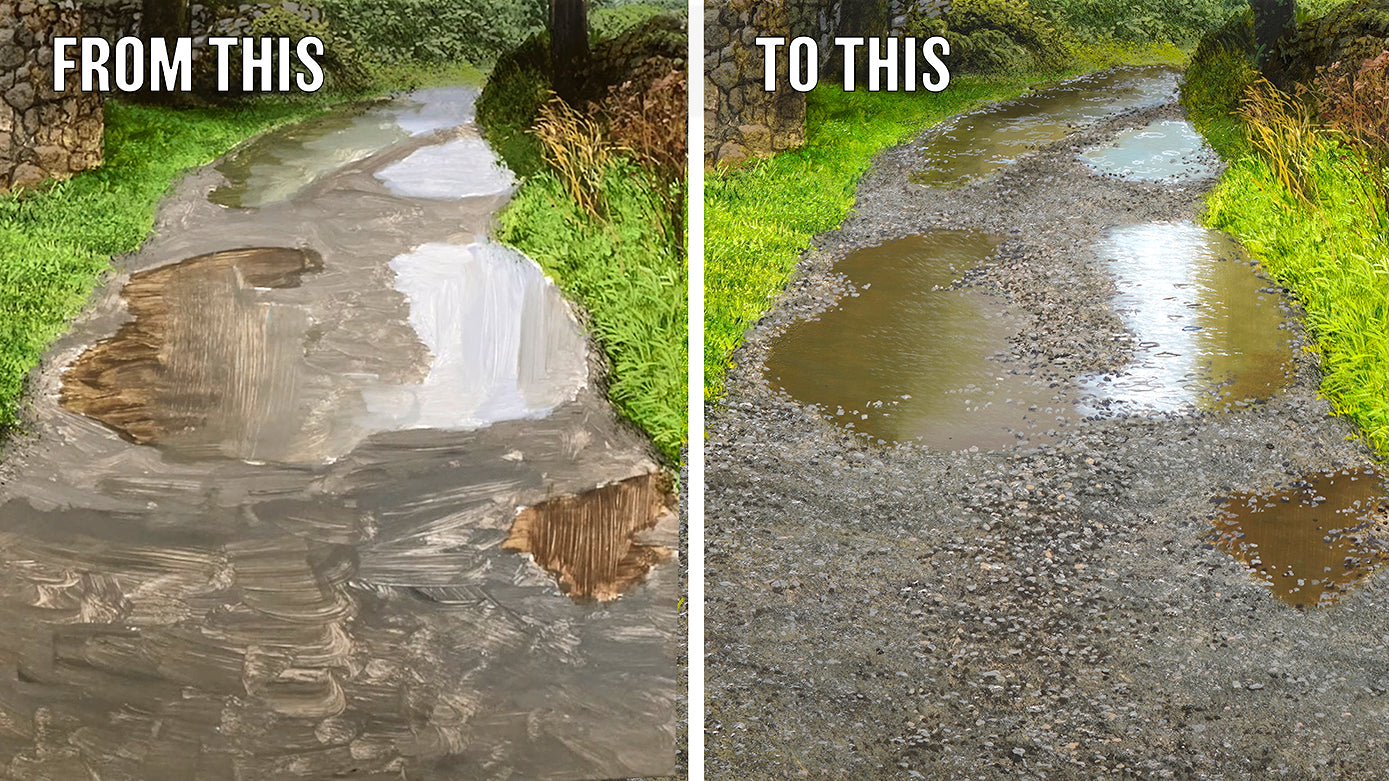
The wet-on-wet oil painting technique is exactly how it sounds, painting directly on top of wet paint without allowing the lower layer to dry. For this reason, the wet-on-wet method is also referred to as ‘direct painting’. However, these aren’t the only names for the technique, you may also hear it called ‘wet-in-wet’, ‘wet-into wet’, or ‘alla prima’, which means first attempt in Italian.
The Italian’s have got the name spot on here, because the wet-on-wet painting technique allows you to complete a painting in one sitting. With traditional methods of painting, referred to as ‘indirect painting’, it can take months to complete a painting (unless you’re using a quick drying paint). This is because each layer is allowed to dry before moving on to the next.
Of course, the wet-on-wet oil painting technique varies depending on the type of surface that you’re painting onto, but the approach is still the same.
So, why use the wet-on-wet technique?
If like me you find yourself short on time, the wet-on-wet oil painting method is ideal. I use this technique during the oil layer stage in my paintings and I also teach it throughout my oil painting courses in my Online Art School. It’s great because you can complete your oil painting in a shorter time frame, plus it makes blending the paints much easier.
How to use the wet-on-wet method
There’s a couple of tricks to getting this painting technique right:
ONE
The upper layers of paint must be thinner than the lower layers. I dilute my paint with white spirit so that when I apply the paint it does not disturb the lower layers and the paint will lay on top. If you apply the paint and it mixes with the paint that’s already on your oil painting, there’s a high chance that you didn’t thin the new paint enough. To thin your paint, simply dip your brush into white spirit, Sansodor or anything else that is used to thin oil paint, before mixing the colour. When painting wet-on-wet, the paint will need to have an ink like consistency, so add white spirit slowly and use your best judgement to determine when the paint has reached this stage.
TWO
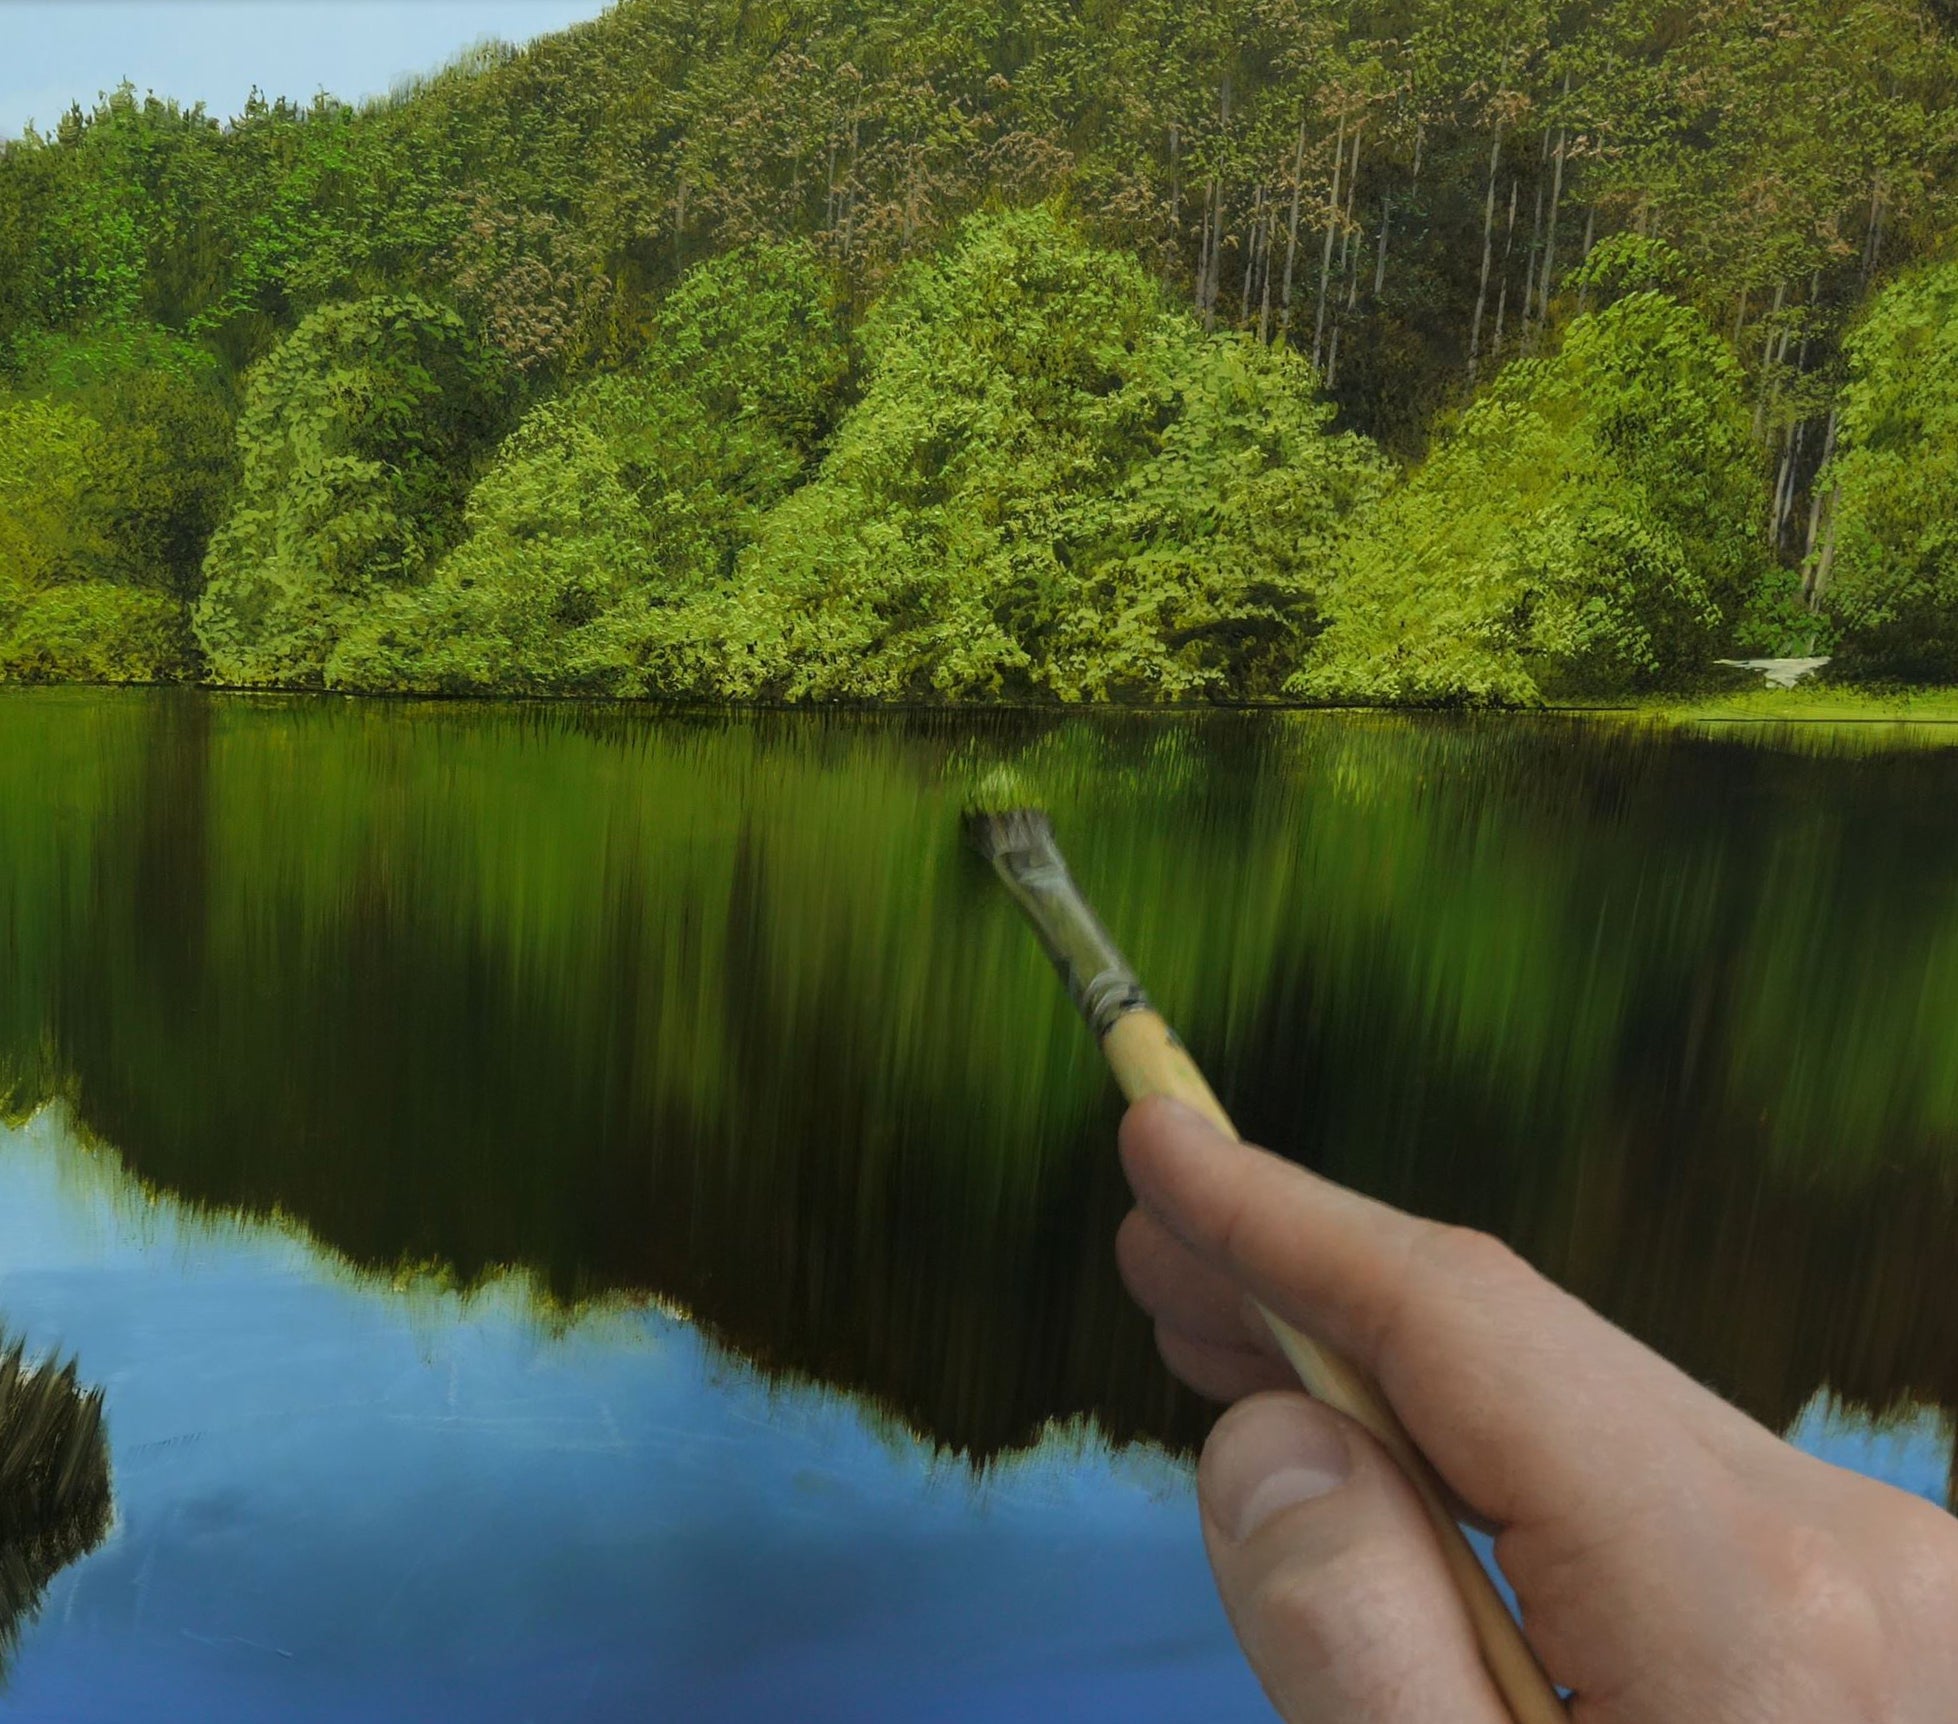
It’s really important to only touch the painting very lightly when adding additional layers using the wet-on-wet technique. Too much pressure on your brush can either push the new colour into the existing and create a muddy colour or lift the paint instead of laying it down. Try to only touch the surface of the painting with the paint itself and not the whole paint brush.
Final notes
Regular oil paints can stay touch wet for up to a week, giving you plenty of time to take a break if you need to. This means that you can continue using the wet-on-wet oil painting technique.
If you don’t get around to an area before the paint has dried, you can scrape off the dry paint with a palette knife, apply a medium like Liquin Original or linseed oil, and then add more wet paint. This is called “oiling out”, and it is often used to make oil colours appear more vibrant on a painting when they have dried to a matt finish. I prefer to use Liquin when oiling out as it dries faster than linseed oil.
For step-by-step video guidance on the wet-on-wet method and many more techniques, join MJS Tv. You’ll have access to a wide range of oil painting tutorials for beginners right through to advanced artists. Join over 1000 budding artists from around the world and start improving your oil painting techniques today.
Now that you have an understanding of the wet-on-wet technique, why not learn about the glazing technique for oil painting here.

