How to Achieve a Perfect Smooth Finish with the Series 7 & 10 Brushes
Creating a flawless, smooth finish in your paintings often comes down to using the right tools. Two of my favourites are the Series 7 and Series 10 brushes. These brushes are staples in my collection—I use them for everything from blocking in large areas to adding fine detail and definition.

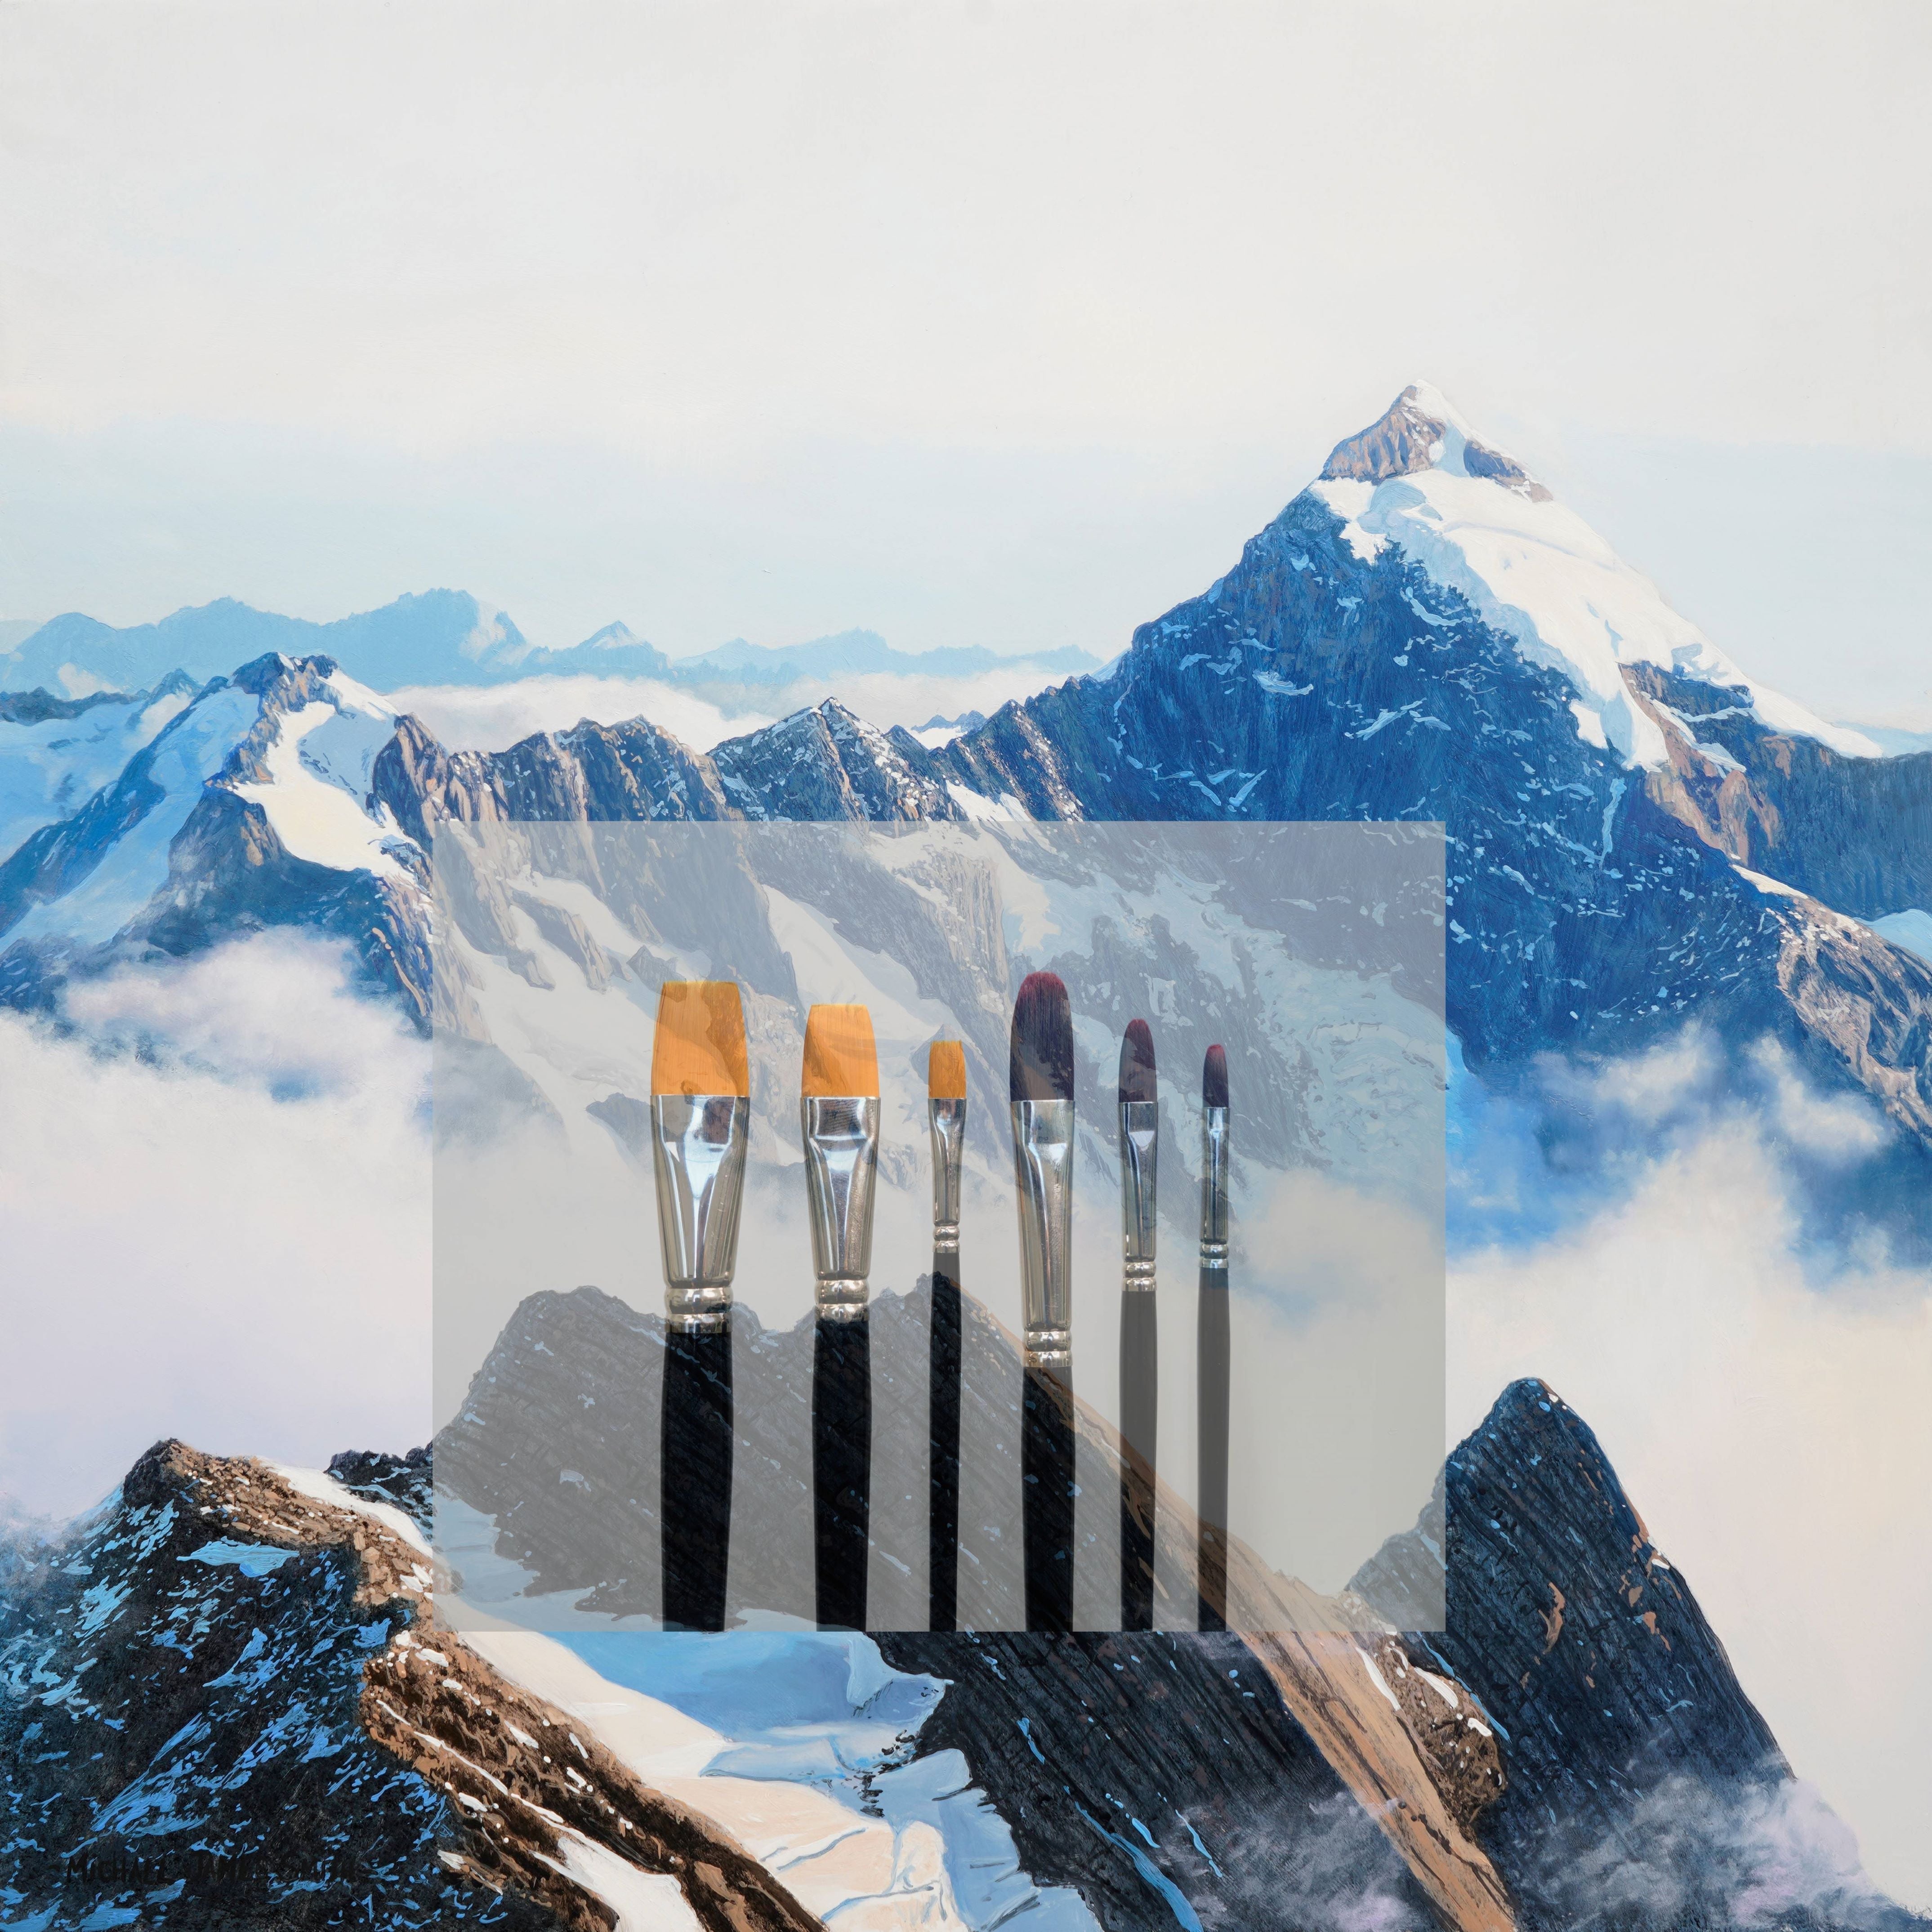
My Series 10 Synthetic Filbert Brushes are fantastic additions to my collection. Perfect for blocking-in and creating a soft smooth finish
Series 7 brushes available in 3 sizes can be purchased here.
Series 10 Filbert Brushes available in 4 sizes can be purchased here
Blocking in Set is available to purchase here
-------------------------------------------------------------------------------------------------
Why I Use the Series 7 & 10 Brushes
-
Blocking in & large areas: Ideal for skies, water, and broad sections of a painting.
-
Smooth finishes: Their shape and bristle quality help eliminate streaks.
-
Detailing & edges: Smaller sizes are perfect for refining textures, ripples, and crisp edges.

The key is finding the right balance of softness. When I’m blocking in or working into subtle, unfocused background areas, these brushes work beautifully, allowing you to keep things smooth and are ideal for creating those softer transitions where you want the background to sit back and stay out of focus.
When it comes time to refine the painting and introduce more definition, I use the smaller size brushes. The Filbert brush's, shape makes it perfect for picking out highlights and strengthening edges while still keeping a natural, painterly feel. You can see this approach clearly in my Stormy Lake tutorial, where the background stays soft and atmospheric while the stronger edges and highlights in the clouds are carefully brought forward.


-----------------------------------------------------
👉 Tip: Always finish large areas with vertical brush strokes. This prevents horizontal streaks catching unwanted light reflections on the finished painting. For extra smoothness, follow up with a Blender Brush to soften ridges.

----------------------------------------------------------------
Adding Detail & Texture
The smaller brushes are very effective when it comes to finer detail work. In Winter Retreat, I used the tip of the Filbert brush to build texture into the rocks and rugged mountain surfaces.


In The Lion, I used the Series 7 brush flat and occasionally on its straight edge. To keep the horizon line clean and straight, I simply rested a mahl stick against the panel and ran the brush along it. It’s a very straightforward approach, but incredibly effective for maintaining crisp, controlled edges.

The smaller Filbert brush was essential for building a refined impasto effect in my Classical Flowers painting. The curved tip let me soften petal edges and blend the leaves subtly, helping everything sit naturally together

Watch my YouTube video Painting Realistic Water below to see the Series 7 brushes in action!
The smaller Series 7 brush allowed me to define texture in the fur of The Lion while in Winter Stag it was perfect for picking out snow covered grasses. The flat tip makes it ideal for creating tapered brushstrokes, especially when defining tall winter grasses.

Watch my tutorial 'The Lion' here


My tutorial 'Winter Stag' is available to watch here.
In King of the Forest, the curved Filbert tip was ideal for creating soft, out of focus background details, blending edges seamlessly for a natural finish.

My tutorial 'King of the Forest' is available to watch here
Final Touches
For larger areas, or anywhere that needs extra softness, I always finish with either the Fan Blender Brush or the Mop Head Blender Brush. This final step softens any harsh transitions, smooths out ridges, and brings a greater sense of harmony to the painting.
Brushes for your collection
The Series 7 and Series 10 brushes are available individually or as part of my Blocking in Brush Set in the online store.
👉 If you’re looking to achieve a smoother, more professional finish in your paintings, these brushes are an essential addition to your toolkit.
Visit my online store, for these brushes and many more.
Happy Painting!
![]()