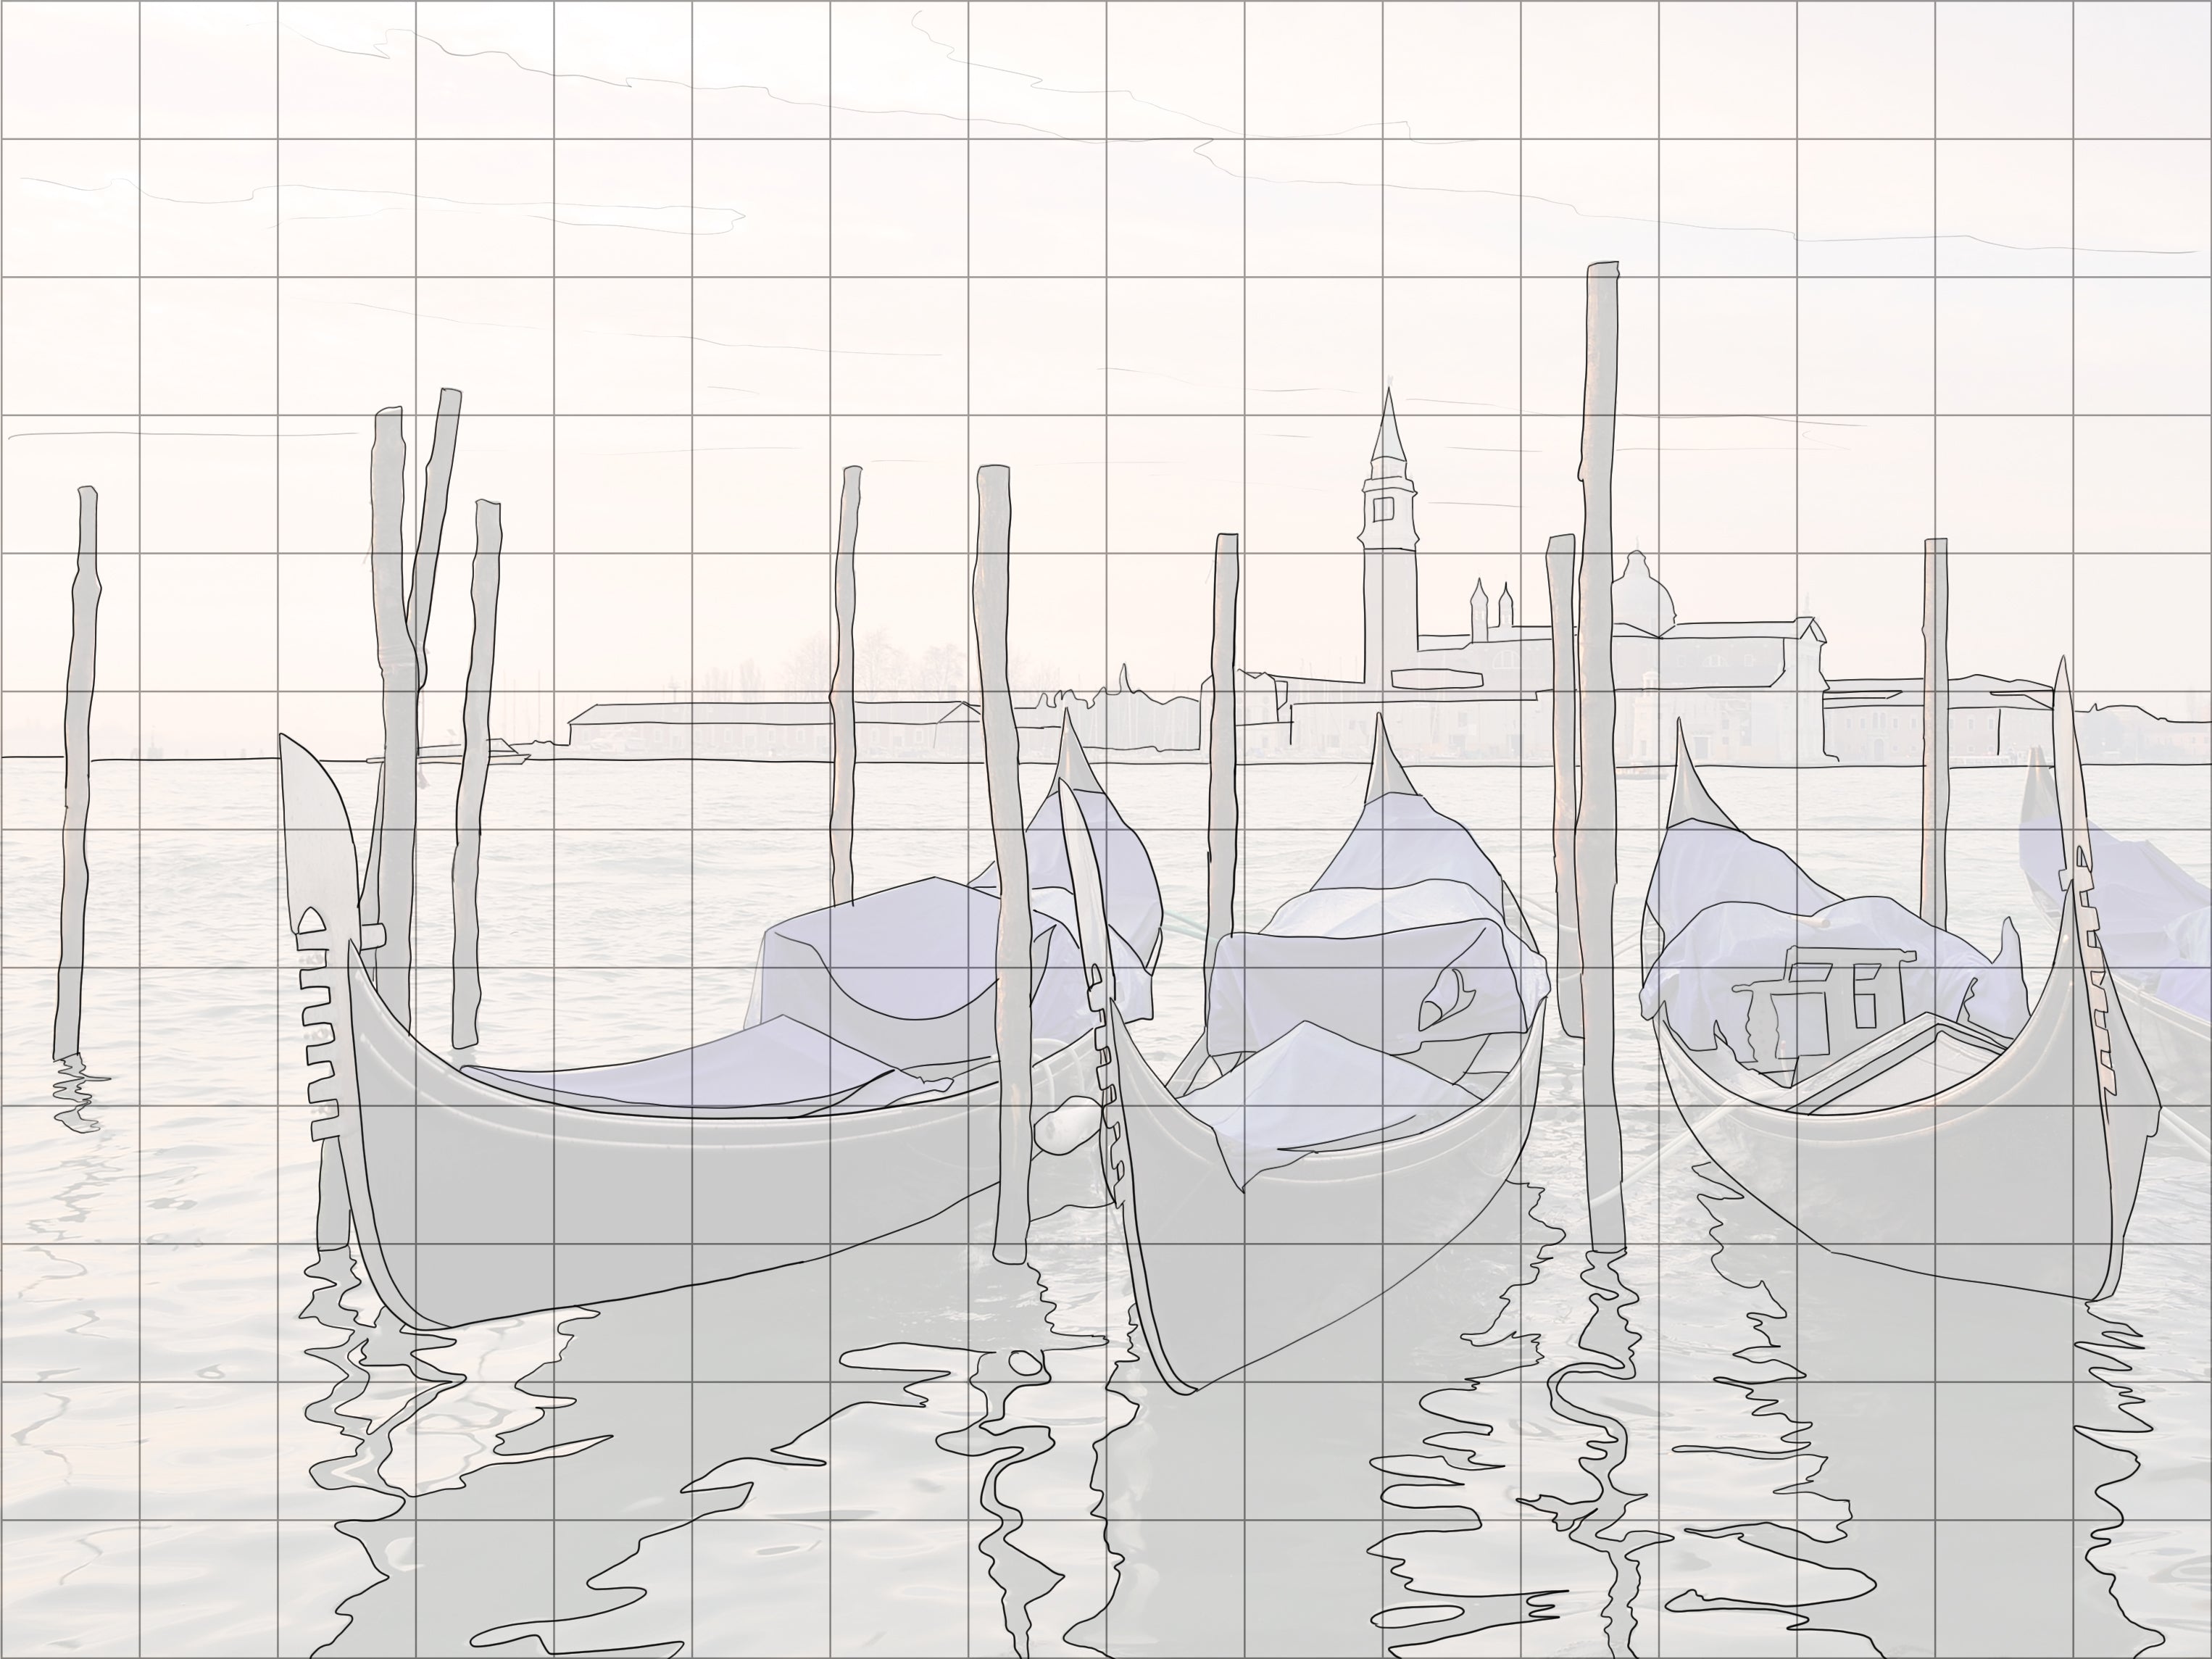
How to use the sketching diagram
How to Sketch Out Your Subject Before Painting 🎨
Before I begin a painting, I always take time to sketch out my subject. My go-to method is the grid technique—a simple but powerful way to make sure all the elements of your composition are in the right place.
Why Use the Grid Method?
If I’m working on a 12” x 12” panel, I’ll usually divide it into 12 squares across and 12 squares down, creating 1-inch squares. This helps keep everything balanced and in proportion.
One of the great advantages of this method is flexibility—you can scale your reference image up or down to fit any panel or canvas size. If your painting has lots of intricate detail, try dividing your panel into smaller squares (for example, a 24 x 24 grid on a 12” x 12” panel). This makes it easier to capture fine details with accuracy.

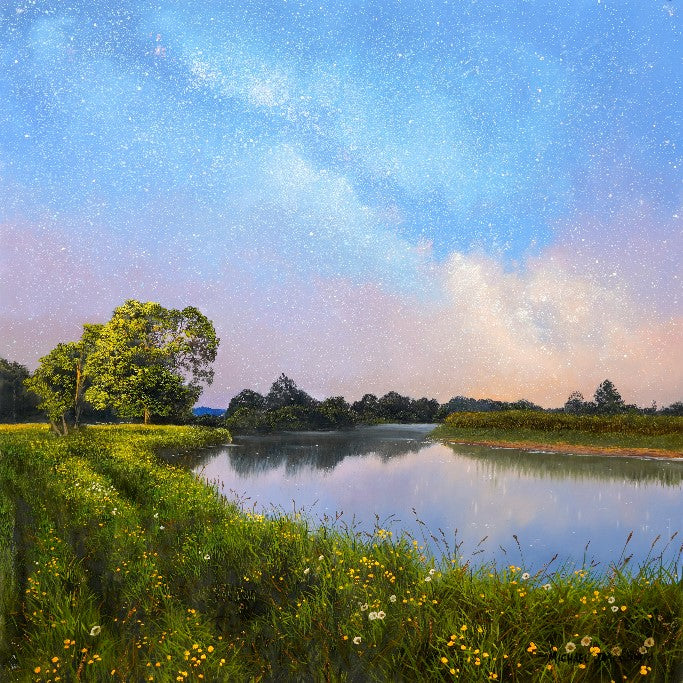
Landscapes vs. Portraits
For landscapes, you don’t need to be exact with every element. What matters most is placing key features—like the horizon line—in the right spot. The rest can be adjusted as you go.
When it comes to portraits or figures, however, accuracy is everything. Proportion is the key to getting a likeness, and the grid method makes it much easier to ensure each feature is the correct size and in the right place.
Using a square image on a rectangular surface
When working from a square reference image on a rectangular surface, one effective option, particularly for landscape subjects (and generally not ideal for portraits), is to keep the grid proportions the same while adapting the layout of the surface. For example, you might work from a square grid 10" x 10" and apply it across the board by dividing the surface evenly across the top and down the side. This gently stretches the image to suit the rectangular format without disrupting the overall composition. The result allows the subject to sit naturally within a landscape orientation, and it’s a method Michael occasionally uses where the composition allows for it.


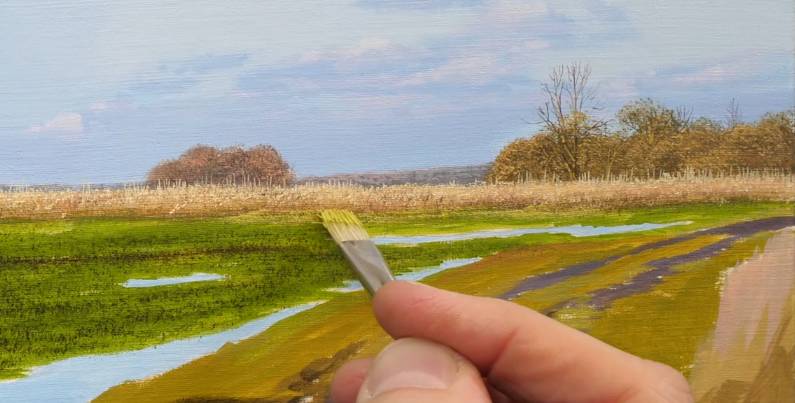
How to Get Started
-
Apply the grid to your reference image.
-
With a graphite pencil, divide your panel or canvas into matching squares.
-
Copy what you see square by square from your image onto the panel.
-
Before painting, erase grid lines from lighter areas so they don’t show through your paint—you’ll avoid having to use extra coats.
Using this approach keeps your sketch clean, accurate, and ready for paint.
You can download a 12" x 16" Sketching Grid here
👉 Watch my new YouTube video, “How to Sketch Out Your Subject Prior to Painting,” for a full demonstration and extra tips.
Happy painting!
![]()