How to create the perfect V when painting foliage, using the fan brush
Getting the perfect V-shape mark when painting foliage can feel a little tricky. Many artists struggle with it at first, but with the right brush loading technique and a few small adjustments to your brush angle, it becomes much easier to achieve consistent results.
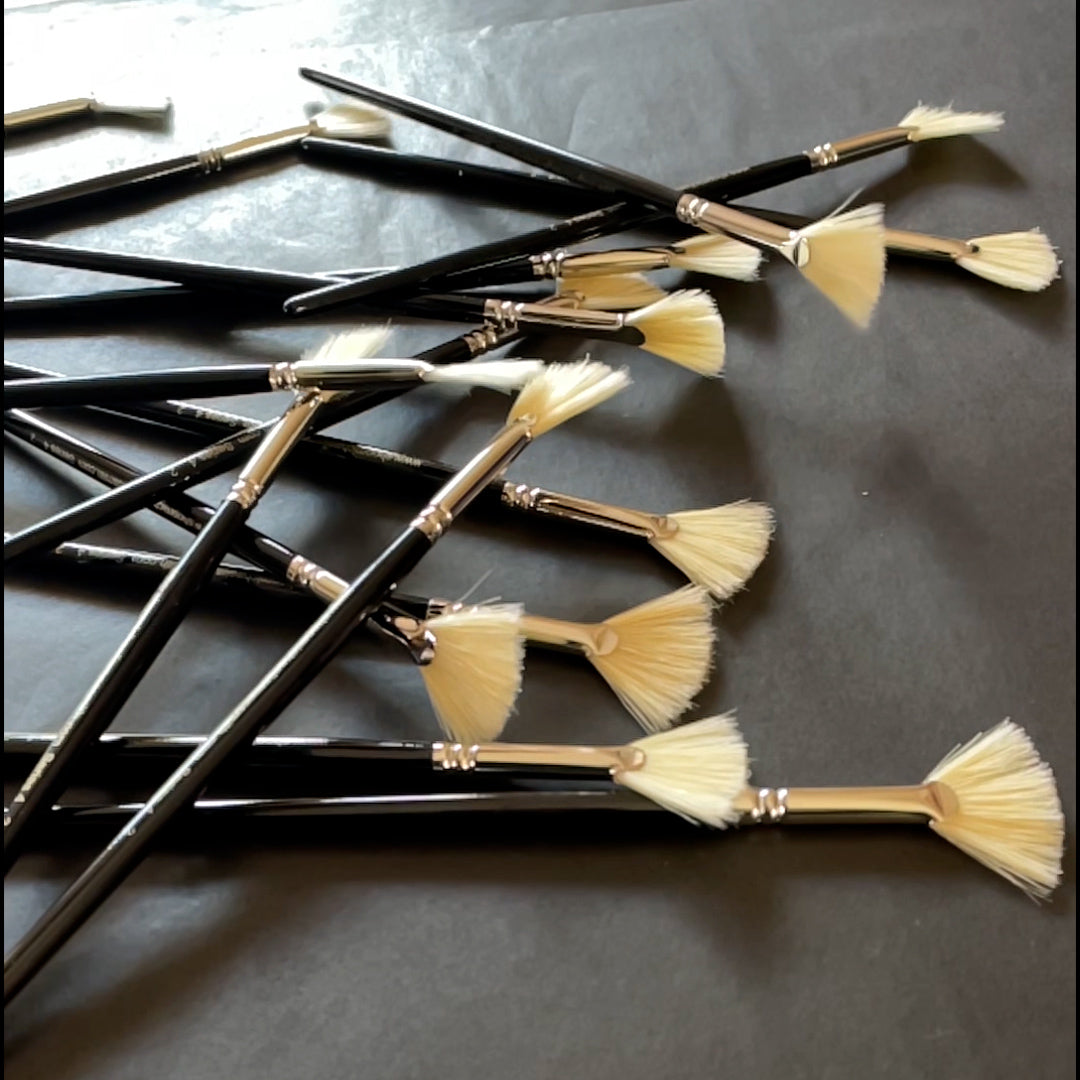
I use the Series 4 Fan brush, to achieve finer tree details in my paintings.

Available to purchase here.
Preparing the Fan Brush
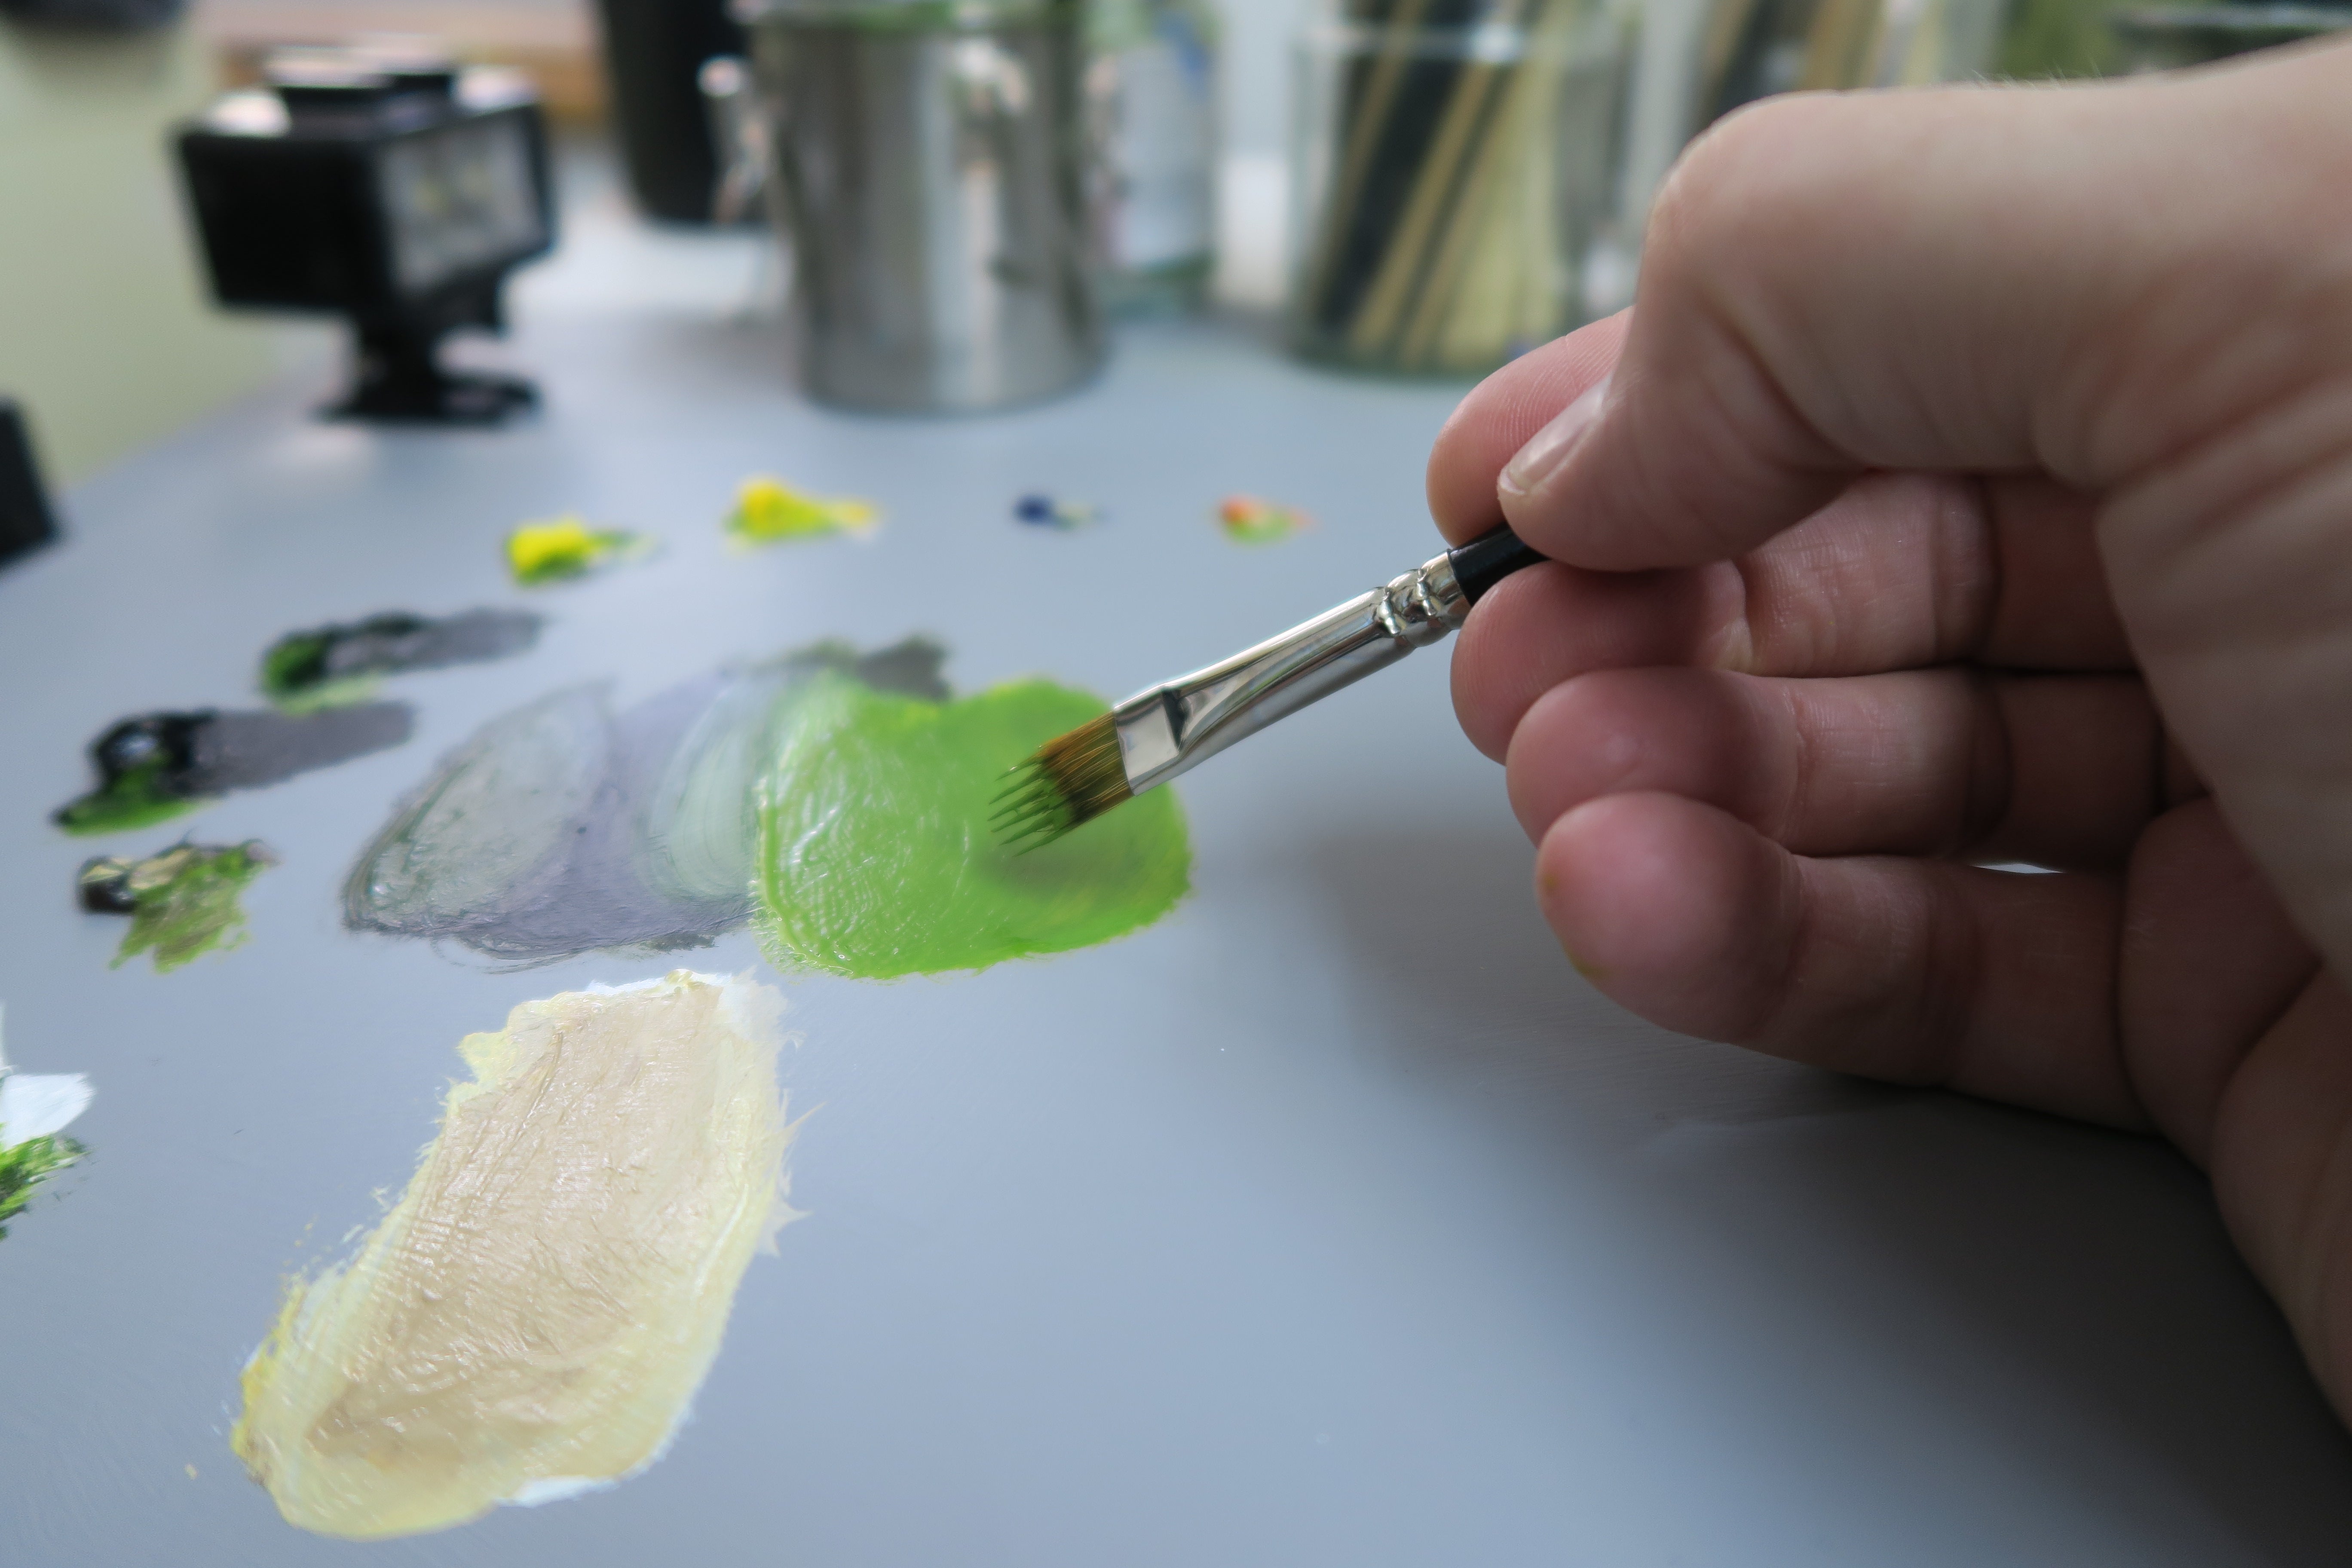
The key is to use more paint than you think you’ll need. Load the brush by brushing both sides through the paint on the palette, pulling backwards and turning it over to collect and flatten the bristles. This pulls the hairs together into a neater, more uniform tip without stray bristles sticking out.
👉 Tip: Sometimes one edge of the fan brush works better than the other—do a quick test to find the “sweet spot.”
Another method is to push the brush slightly back into the paint after pulling it through. This loads more paint onto the tip, which helps create a stronger, more uniform triangle shape with a subtle impasto effect.
The top edge will form a V shape
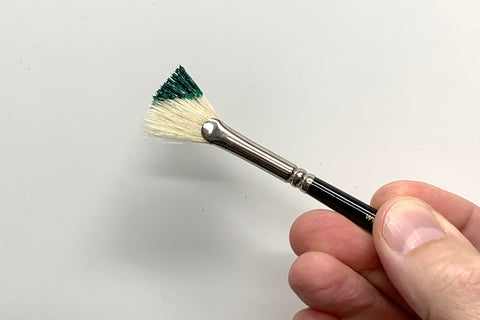
Making the Mark
Hold the brush horizontally with the fan edge facing the panel. Then angle the brush at about 45° and twist the tip away from the panel slightly, lowering the handle as you touch the surface. With a light touch, you’ll begin to see those inverted V-shapes appear.
The first few strokes may look more like blobs, but with small adjustments—tilting the handle, changing the angle, or experimenting with pressure—you’ll quickly find the motion that produces consistent brush marks.

Adjusting for Distance and Effect
-
Foreground trees: Apply slightly more pressure to make larger, bolder marks.
-
Background trees: Use just the very tip with minimal pressure to create smaller, more delicate V’s.
-
Feathered look for distant foliage: Remove a little paint from the brush to create softer, “furry” textures with each touch.

You can also experiment with adding a small amount of Liquin or thinner. This produces a paint consistency somewhere between thick impasto and smooth, allowing for tighter, more defined shapes while still keeping a natural feel.
Things to Keep in Mind
-
Sufficient paint on the brush is essential—don’t be afraid to load it generously.
-
The angle of the brush makes the biggest difference to the shape of your marks.
-
Each fan brush behaves a little differently, especially since they are designed with a naturally ragged tip. If you prefer a sharper edge, you can trim an older brush to neaten its shape.
---------------------------
Technical Exercise: 'How to Paint Foliage'

One of the most common challenges for artists is achieving realistic foliage that feels alive and not repetitive. In this exercise, I demonstrate how to use my three go-to brushes—including the Series 4 Fan Brush—to create rich, varied foliage effects.
You’ll learn how to:
-
Load paint effectively for crisp, clean marks.
-
Use the brushes at different angles to vary leaf shapes.
-
Apply strokes in a way that builds depth, consistency, and natural form.
With practice, you’ll notice your leaves, canopies and texture taking on more convincing detail and dimension.
---------------------------------

👉Purchase the Foliage Brush set here
Final Thoughts
With a little practice, the fan brush becomes an incredibly effective tool for painting realistic foliage. By experimenting with paint loading, brush angles, and pressure, you’ll be able to create everything from crisp V-shapes in foreground trees to soft, atmospheric foliage in the distance.
👉 The Series 4 Fan Brushes are available individually in three sizes, as a complete Set of 3 brushes, or as part of the Foliage Brush Set in my online store—why not give them a try and see how they transform your foliage painting?
Happy Painting
![]()
