How to Add Texture Using the Tree & Texture Brush
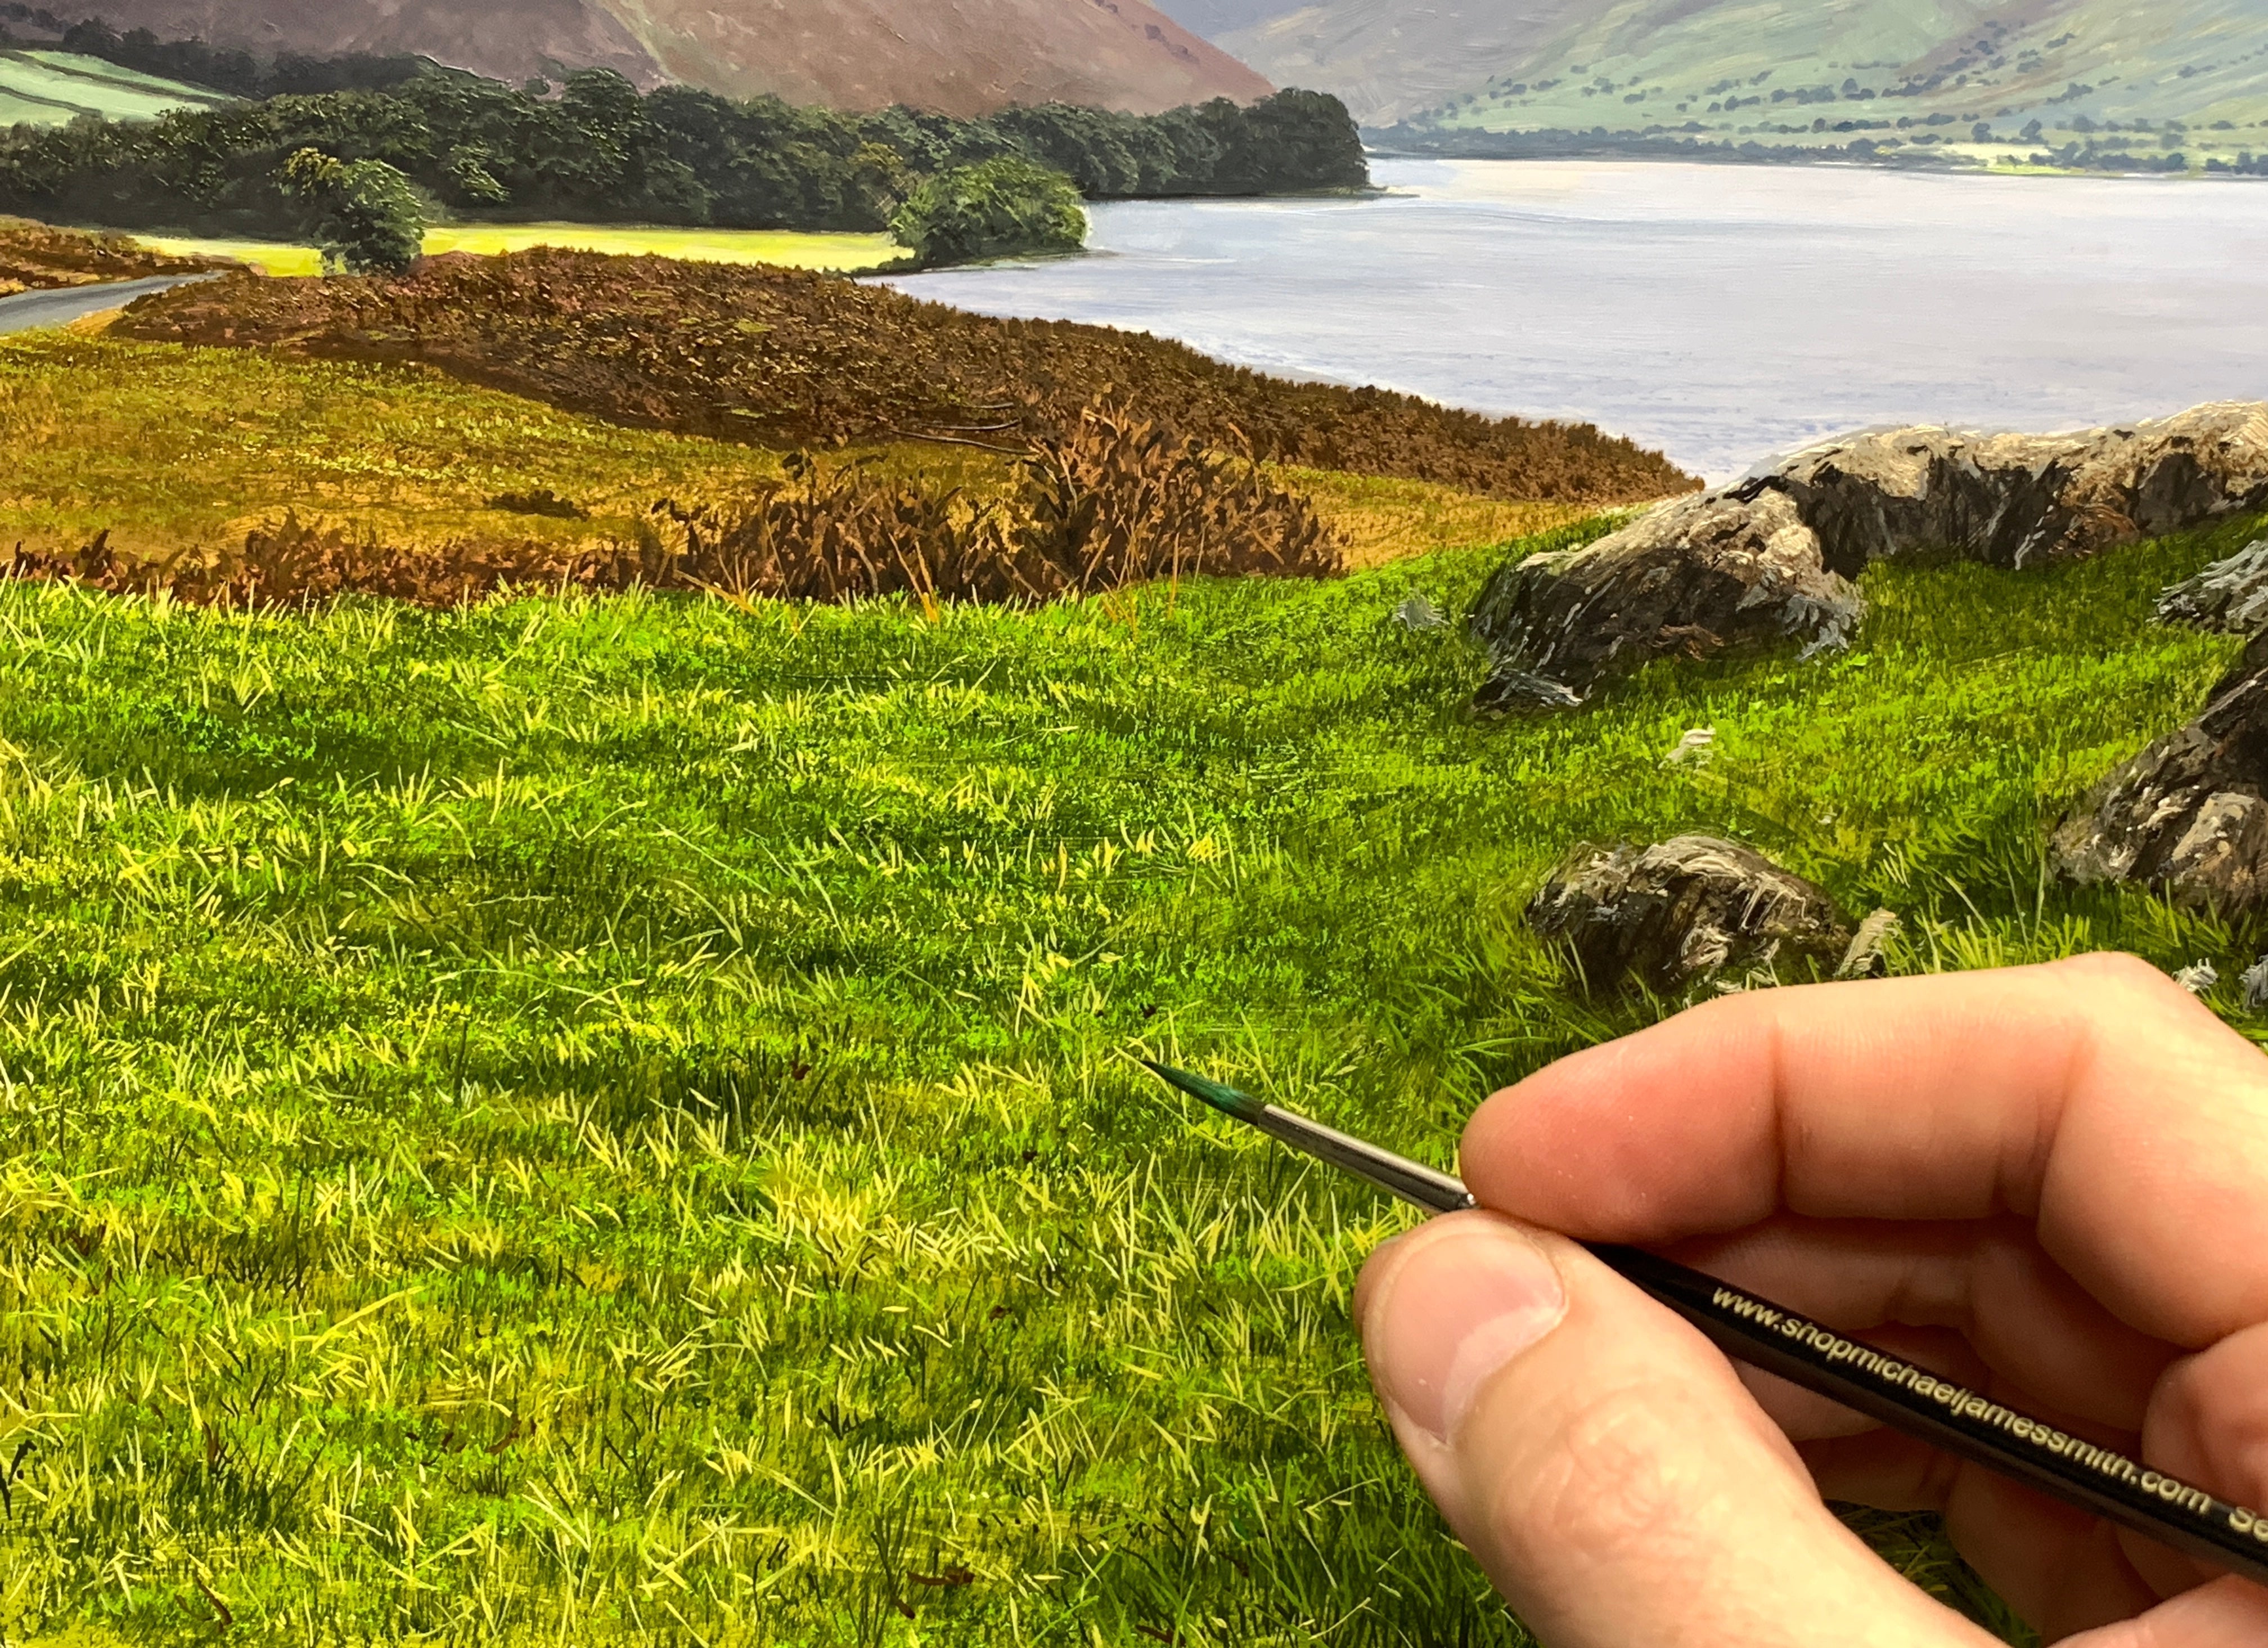
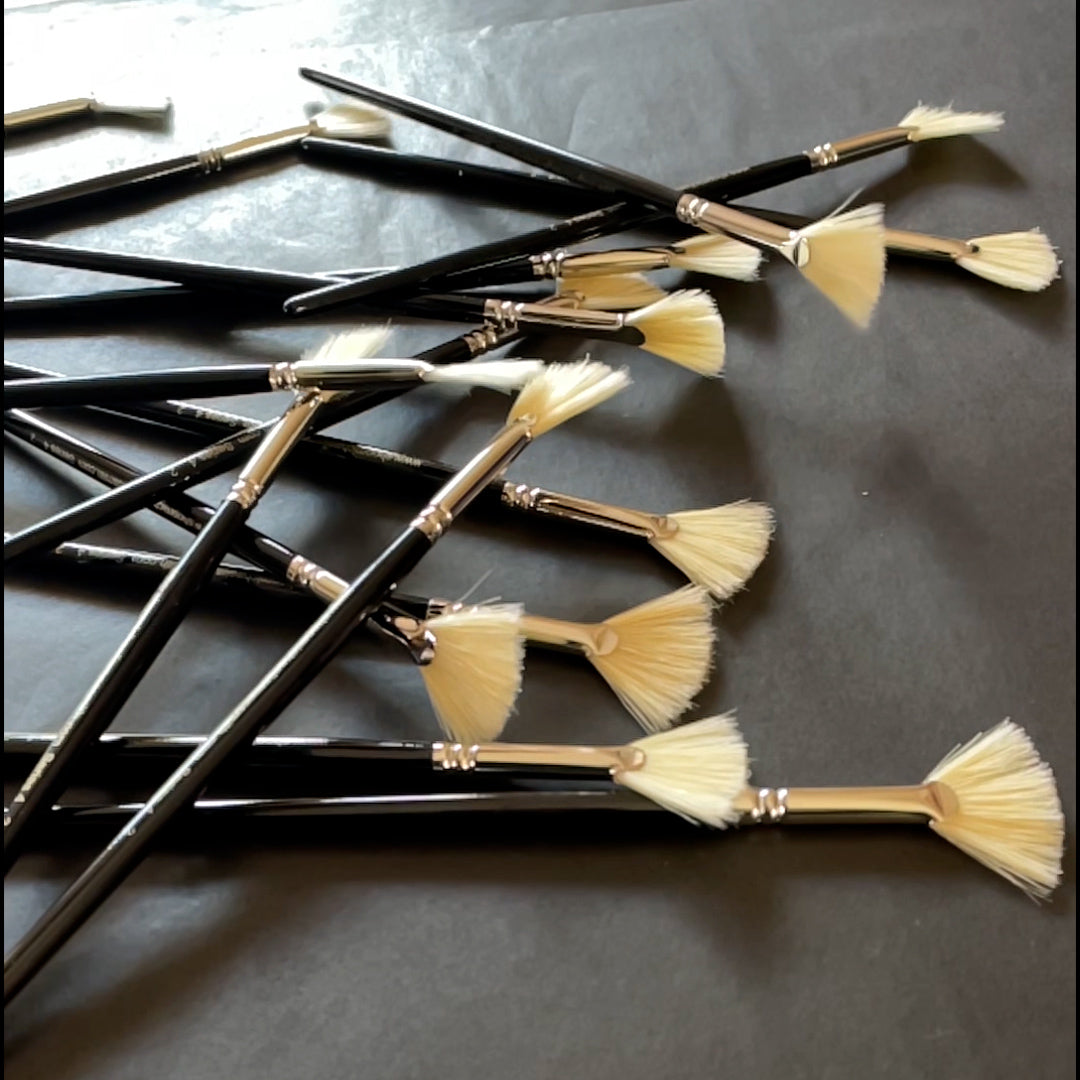
Creating depth and texture in realistic paintings doesn’t need to be difficult. Have you ever wondered how I achieve this effect in my work? One of my go-to tools is the Series 3 Tree & Texture Brush—a versatile brush I use in almost all of my paintings when I want to build texture and depth.
Although designed for foliage, this brush isn’t limited to trees—it’s just as effective for adding depth to paths, dry-stone walls, and other textured surfaces

Starting with the Block-In
As always, my paintings begin with a mid-tone block-in—a simple, undetailed layer that establishes the base colours. It’s essential that this layer is completely dry before applying texture.
To create the first texture layer, I often use diluted Ivory Black, applied as a thin glaze over the block-in. This slightly darkens the colour underneath while also adding a soft layer of detail. The more medium you add, the more diluted and transparent the glaze becomes, allowing you to vary the depth of shade.
Building Texture with the Brush
The Tree & Texture Brush is perfect for applying these subtle layers. With only a small amount of paint on the bristles and a very light touch, you can create stippling effects that suggest foliage, gravel, or natural stone textures.
-
For foliage: Start with darker tones in the mid- and background areas, tapping the brush gently at a 45° angle. This adds a speckled effect, giving the impression of leaves within the shadows.
-
For paths or stone walls: Use the same stippling motion with diluted Ivory Black to add depth, shadow, and a natural sense of irregularity. Once dry, this surface is ready for lighter highlights and finer details.

You can see my YouTube video tutorial on this subject below.
Layering for Realism
After the darker textured layer is in place, I gradually build up lighter tones and highlights. This creates contrast and brings the subject forward, while the stippled textures beneath give the illusion of depth and intricate detail without having to paint every leaf or stone individually.


Holding the brush at a 45° angle allows you to create tiny dots to add texture.
Gently tap with light pressure. Building it up to darken and define specific areas.
---------------
Technical Exercise: How to Paint Foliage
One of the most common challenges for artists is achieving realistic foliage that feels alive and not repetitive. In this exercise, I demonstrate how to create rich, varied foliage effects.
You’ll learn how to:
-
Load paint effectively for crisp, clean marks.
-
Use the brushes at different angles to vary leaf shapes.
-
Apply strokes in a way that builds depth, consistency, and natural form.
With practice, you’ll notice your leaves, canopies and texture taking on more convincing detail and dimension.
👉Purchase the Foliage Brush Set here
-----------------------------
Final Thoughts
The Tree & Texture Brush is one of those essential tools that makes painting more efficient and expressive. With just a light touch and careful layering, you can add richness, depth, and realism to your work—whether you’re painting trees, gravel paths, or stone walls.
👉 You can see this brush in action in my YouTube tutorial below. Why not give it a try in your own work? You may be surprised at just how much texture and life it can bring to your paintings.
Happy painting!


