How to Paint Realistic Water
Water is one of the most captivating yet challenging elements to paint. Achieving true translucency, mirror-like reflections, and crystalline clarity can feel daunting—but with the right techniques, it’s absolutely possible. Have you ever wondered how I capture water in my paintings?
Over the past 28 years as a professional artist, I’ve refined methods that bring out the mesmerizing qualities of water. Below, I’ll share the tools, techniques, and steps I use so you can bring this fascinating subject to life in your own work.
Tools of the Trade
I rely on a wide selection of brushes, each playing an important role at different stages of a painting.
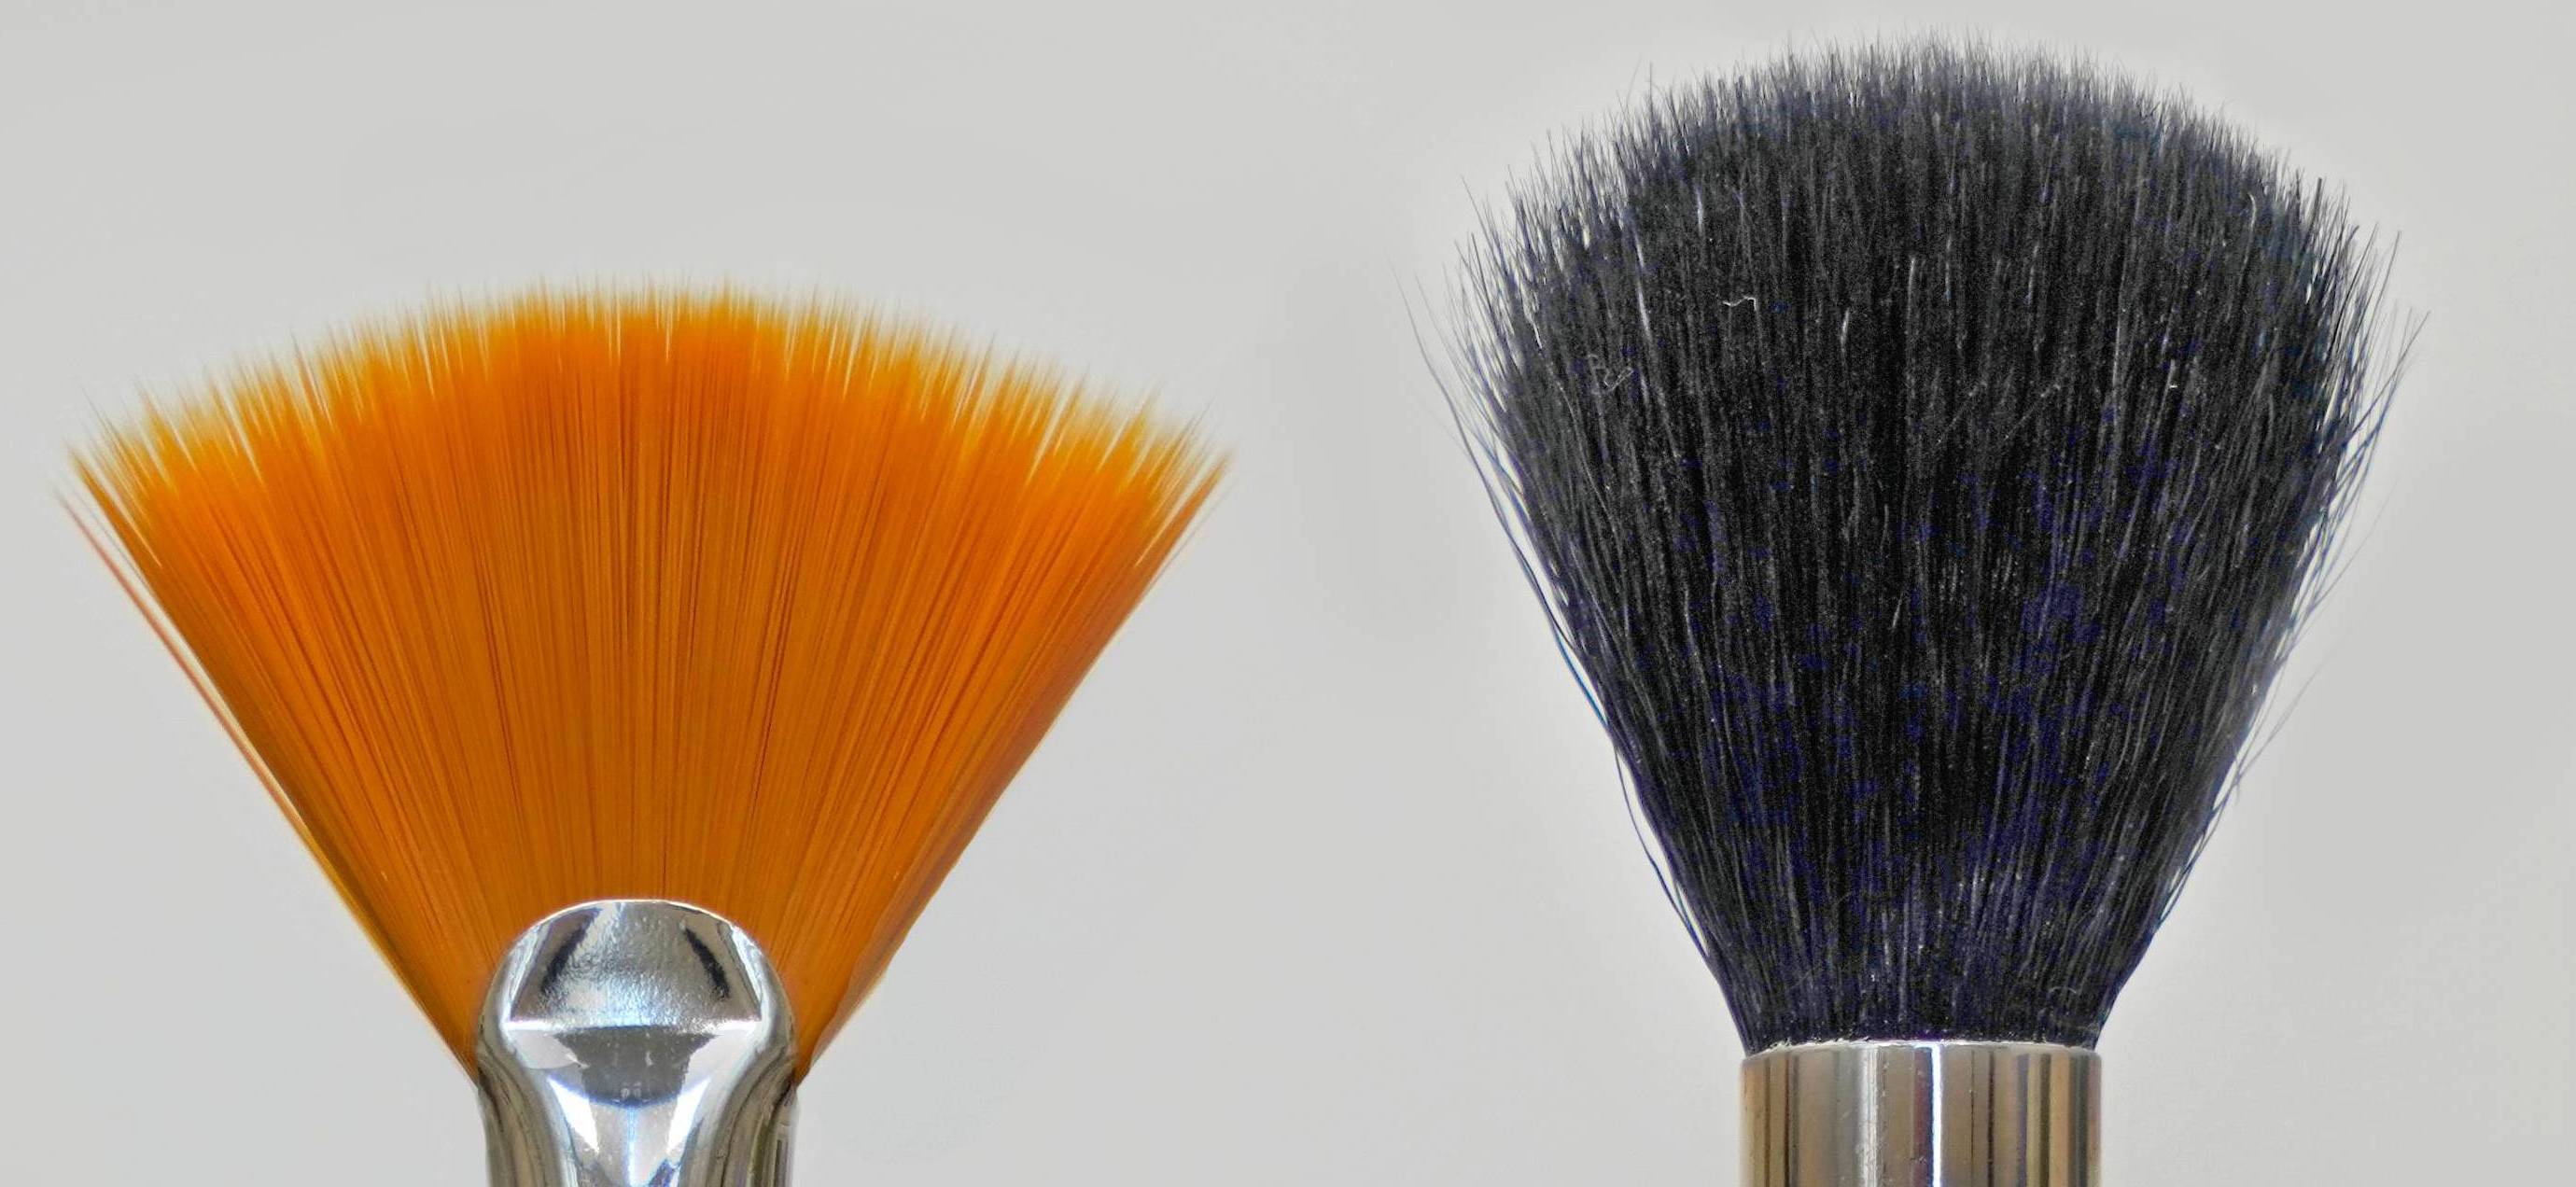
The Professional Brush Set (available here) & the Additions Set (available here) contain everything you need—from broad flats for blocking-in to Riggers and Combers for delicate details.

Building the Foundation
-
Apply the Grid – Transfer the reference image onto your surface for accurate proportions, including reflections and major features.
-
Sketch the Outline – Lightly mark in the trees, waterline, and key reflection areas.
-
Block-In with Mid Tones – Using a large flat brush, lay down smooth paint with as few strokes as possible to create an even base.
Creating Depth with Glazes
After blocking-in:
-
Apply a slightly darker glaze (paint + Liquin) to deepen shadows and increase transparency.
-
Use thicker paint for the lighter sky reflections to ensure coverage, especially along the edges of darker areas.
-
Blend light tones into the dark with a touch of Liquin for a seamless effect.
-
For ripples, thin the paint and apply with a Rigger Brush for precision.
Expressing movement in water may seem tricky but with the right techniques, you can create perfect ripples! Watch my tutorial here.
You can see my YouTube video time lapse below
Capturing Reflections
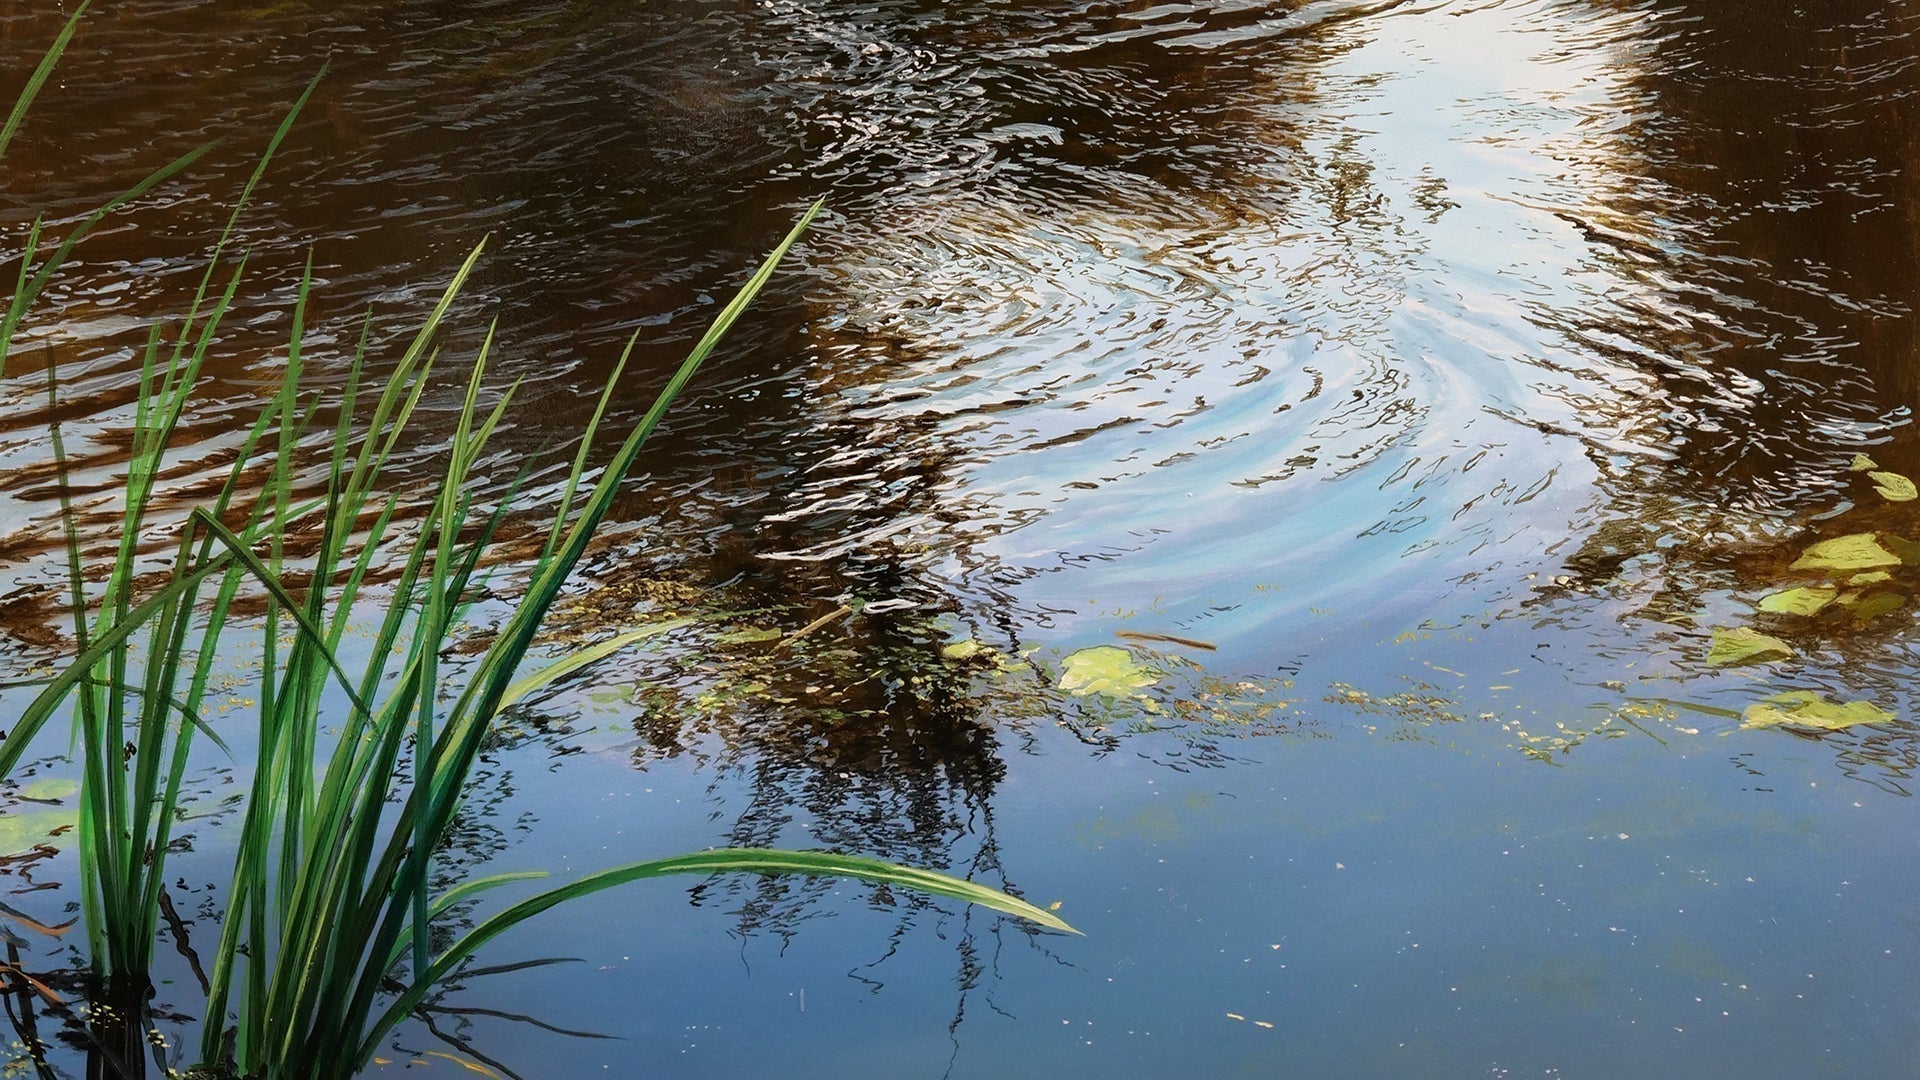
Reflections bring water to life—not just of the sky, but also of trees, grasses, and riverbanks. Where the riverbed shows through, add translucency by thinning paint with Galkyd, which creates that delicate, transparent effect.
-
In Lake Reflections, I use the Comber Brush to build fine details of grasses and tree reflections, and to add subtle surface textures before painting ripples.
-
In How To Paint A River, vertical strokes with a wide brush create a smooth base layer, which is essential for a mirror-like effect.
Adding Movement
Expressing motion in water can feel intimidating, but with practice, it becomes second nature:
-
Ripples – Painted with Rigger Brushes and Comber Brushes, using fine, controlled strokes.
-
Frothy waves or waterfalls – Achieved with a Fan Brush, using its very tip and keeping the bristles almost dry. This creates an airy, effervescent texture.
-
Soft water surfaces – Gentle blending with the right brushes mimics calm reflections and subtle flows.
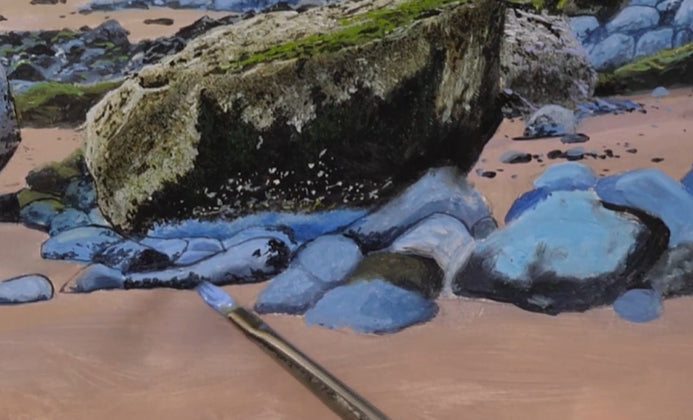
You can watch my YouTube video Painting a Rocky Riverbed here to see these methods in action,
YouTube Timelapse Painting This Rushing River
You can view my lessons varying from beginner to advanced here, to help you on your way to painting realistic water!
Final Thoughts
Painting water may seem daunting at first, but with the right brushes, mediums, and techniques, you’ll find it incredibly rewarding. Whether you’re aiming for still lakes, rushing rivers, or crashing waves, these methods will help you capture water’s unique beauty and improve your painting skills.
So why not give it a try? With practice, you’ll be amazed at how quickly your confidence grows—and how realistic your water paintings can become.
You can buy my brushes here
Happy Painting!


